Introduction
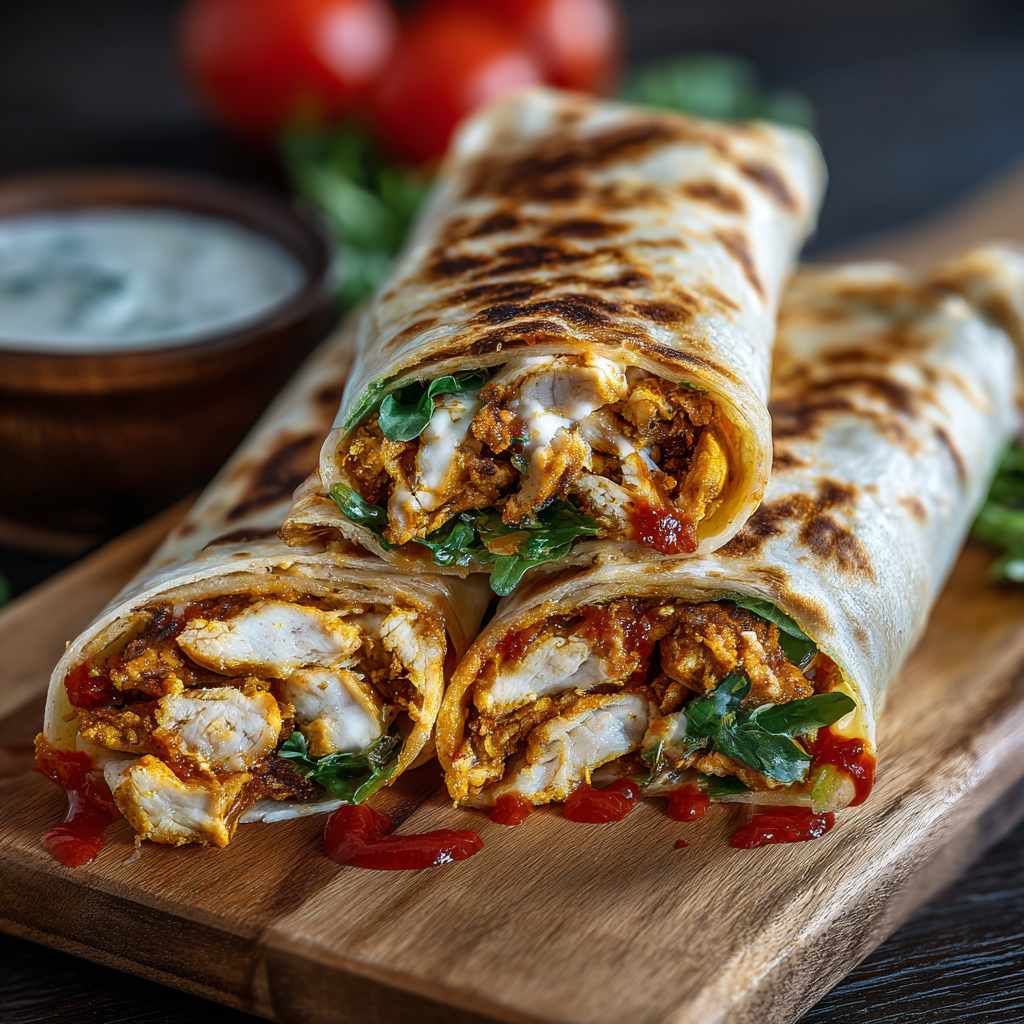
If you're tired of the same old meals and looking for a quick yet satisfying dish, look no further than crispy air fryer chicken and mozzarella wraps. These wraps bring together succulent chicken, melted mozzarella, and a blend of herbs that will elevate your lunchtime experience.
The air fryer is a game-changer, helping to create that coveted crispy texture without the need for excessive oil. This recipe is not just convenient; it’s versatile enough to suit any taste. You can switch up the ingredients based on what you have at home, making it perfect for weeknight dinners or a casual lunch with friends.
Ingredients
- 2 cups cooked chicken, shredded
Shredded chicken provides the main protein component and drives the flavor of the wraps. Opt for rotisserie chicken for convenience, or use leftovers from another meal. - 1 cup shredded mozzarella cheese
This cheese melts beautifully, providing a gooey texture that complements the crispy chicken. Its mild flavor allows the seasoning of the chicken to shine through. - 4 large tortillas (flour or whole wheat)
The tortillas serve as the wrap itself, providing a soft exterior that holds all the fillings. Flour tortillas typically offer better pliability, while whole wheat adds a nutty flavor. - 1/2 teaspoon garlic powder
Garlic powder increases the overall flavor profile, adding depth without overwhelming the palate. It’s also easy to incorporate and evenly distribute throughout the filling. - 1/2 teaspoon onion powder
Onion powder complements the garlic and enhances the savory notes of the chicken. It’s a convenient way to boost the dish's aroma without the hassle of chopping onions. - 1 teaspoon Italian seasoning
This blend of dried herbs adds a necessary aromatic element, perfect for crafting that Italian dish vibe. It includes herbs like basil, oregano, and thyme. - Salt and pepper to taste
Seasoning is crucial for bringing out the flavors in your chicken and cheese. Adjust these to your preference for a well-balanced wrap. - Olive oil spray
A light mist of olive oil ensures the wraps achieve that golden-brown crispiness. Instead of drenching the wraps, this method is healthier and still effective.
Directions & Preparation
Step 1: Prepare the chicken mixture.
Begin by combining the shredded chicken, mozzarella cheese, garlic powder, onion powder, Italian seasoning, salt, and pepper in a bowl. This step ensures that the chicken is well-seasoned and the cheese evenly distributed, which ultimately affects the taste of every bite. Mix until fully combined, allowing the flavors to meld together.
Step 2: Assemble the wraps.
Lay out your tortillas on a clean, flat surface. In the center of each tortilla, place a generous amount of the chicken mixture. The way you assemble your wraps is important; you want to avoid overfilling, which can lead to messy outcomes in the air fryer. Leave some space at the edges for easy folding.
Step 3: Fold the tortillas.
Carefully fold in the sides of the tortilla and then roll it up tightly from the bottom. Proper folding helps maintain the integrity of the wrap during cooking, preventing any fillings from spilling out. Make sure they are sealed well to provide a satisfying bite without losing any deliciousness.
Step 4: Preheat the air fryer.
Set your air fryer to 375°F (190°C) and preheat for about 5 minutes. Preheating is crucial for crispy results; it ensures that the wraps start cooking immediately upon placing them inside, giving a better texture and flavor.
Step 5: Spray the wraps with olive oil.
Lightly spray the outside of each wrapped tortilla with olive oil. This step not only promotes crispiness but also helps the wrap achieve a lovely golden hue. It’s a healthier alternative to brushing on oil, as it controls the amount used.
Step 6: Place the wraps in the air fryer.
Arrange the wraps in a single layer in the air fryer basket, ensuring they are not overcrowded. Overcrowding can lead to uneven cooking, resulting in some wraps being undercooked while others are overly crisp. If necessary, cook them in batches.
Step 7: Cook the wraps.
Air fry the wraps for about 10-12 minutes, flipping halfway through. Keep an eye on them to ensure they don’t overcook. This method guarantees both the chicken warms through and the tortillas receive that satisfying crunch.
Step 8: Serve warm.
Once cooked, remove the wraps from the air fryer and let them cool slightly before cutting. Serving them warm enhances the cheese's gooeyness and makes the chicken more flavorful, contributing to a delightful eating experience.

Mouthwatering Sauce Combinations
Elevating these crispy chicken and mozzarella wraps can be achieved with the right dipping sauces. Consider options like a tangy BBQ sauce, creamy ranch, or a spicy Sriracha mayo to dip into. These sauces add an extra layer of flavor and complement the richness of the cheese and chicken beautifully, enhancing your overall dining experience.
Switch It Up: Custom Fillings
While the chicken and mozzarella filling is delicious, don’t hesitate to customize your wraps. Substituting in sautéed vegetables, like bell peppers and spinach, or even switching the cheese to cheddar or pepper jack can give a refreshing twist. This flexibility allows you to cater to different tastes and dietary needs without straying far from the original concept.
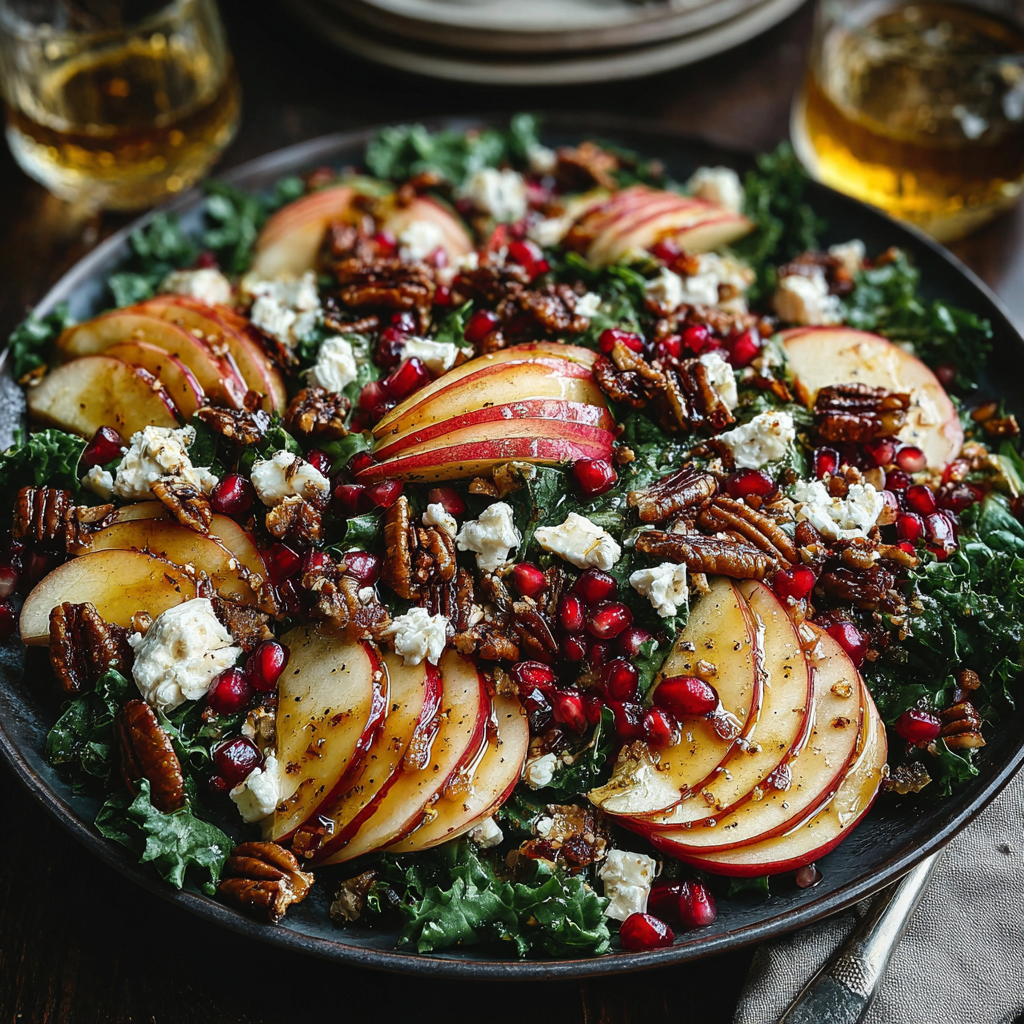
Making It a Meal
To turn your crispy wraps into a full meal, consider serving them alongside a fresh salad or some crispy roasted vegetables. The contrast of crispiness from the wraps and the freshness from the sides creates a balanced dining experience that satisfies both taste and hunger.
FAQs
What if my wraps are too crispy?
If your wraps are too crispy, check the cooking time next time. Reducing the time by a minute or two can help achieve your desired level of crunch.
Can I use different protein besides chicken?
Yes, you can easily substitute chicken for turkey, shrimp, or even a plant-based protein like tofu. Adjust seasoning accordingly for best flavor.
How can I tell when the wraps are done?
The wraps should be golden brown and crispy to the touch. A food thermometer can confirm that the internal temperature of the chicken has reached 165°F (74°C).
What if I don’t have an air fryer?
If you don’t have an air fryer, you can bake the wraps in a conventional oven at 400°F (200°C) for about 15-20 minutes, flipping halfway through.
Can I add more cheese?
Absolutely! Feel free to increase the amount of cheese for an even gooier experience. Just be mindful not to overfill the wraps.
What herbs can I use instead of Italian seasoning?
If you don’t have Italian seasoning, oregano, basil, or thyme can be substituted individually or combined. This allows for a different flavor profile while still aromatic.
Conclusion
Crispy air fryer chicken and mozzarella wraps are not just a delightful dish; they represent creativity in the kitchen with minimal effort. The easy preparation and customizable nature make this a perfect addition to your weeknight repertoire.
Experiment with different variations and pairings to find a formula that works best for you. Whether you enjoy them solo or with friends, these wraps will surely satisfy.
Recipe Card
Crispy Air Fryer Chicken and Mozzarella Wraps
Ingredients
Method
- Prepare the chicken mixture.
- Assemble the wraps.
- Fold the tortillas.
- Preheat the air fryer.
- Spray the wraps with olive oil.
- Place the wraps in the air fryer.
- Cook the wraps.
- Serve warm.
Tried this recipe?
Let us know how it was!Notes
Additional serving suggestions: pair with a crisp salad, garlic bread, or roasted seasonal vegetables for balance.
For make-ahead, prep components separately and assemble just before heating to preserve texture.
Taste and adjust with acid (lemon/vinegar) and salt right at the end to wake up flavors.