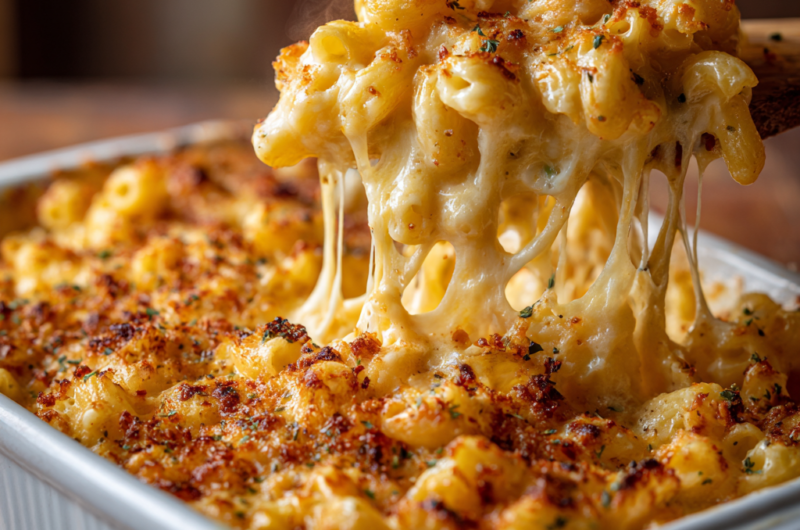
A rich, smoky twist on the classic — velvety cheese sauce, crispy breadcrumb topping, and 35 minutes from stovetop to table.
📋 In This Article
Introduction
Let’s get one thing straight: not all mac and cheese is created equal. Smoked Gouda Mac and Cheese belongs to a different category entirely — the kind that makes people pause mid-bite and ask for the recipe. The smoky depth of gouda cuts through the richness in a way that sharp cheddar simply can’t. It’s bold without being overwhelming, creamy without feeling heavy, and when baked until that top layer turns golden and crisp? That’s when comfort food becomes something worth talking about.
I’ve tested this recipe more times than I care to admit. The first few attempts taught me what not to do — overheating the cheese sauce until it broke into a greasy mess, skipping the nutmeg (don’t do this), and under-seasoning the pasta water. Each mistake brought me closer to the version you’re reading now. This isn’t just dinner; it’s the dish that disappears first at potlucks and earns repeat requests at family gatherings.
Why This Recipe Works
Here’s the thing about great mac and cheese: it’s built on technique, not luck. The foundation is a proper roux — equal parts butter and flour cooked just long enough to lose its raw flour taste but not so long that it darkens. This creates the base for a béchamel sauce that thickens smoothly and holds onto cheese without separating.
The real star, though, is the smoked gouda. Its low pH and moderate fat content make it melt beautifully, but here’s what most recipes miss: smoked gouda alone can overpower. That’s why I blend it with sharp cheddar. The cheddar brings tang and structure while the gouda contributes that distinctive smoky backbone. Together? They create layers of flavor that unfold with each bite.
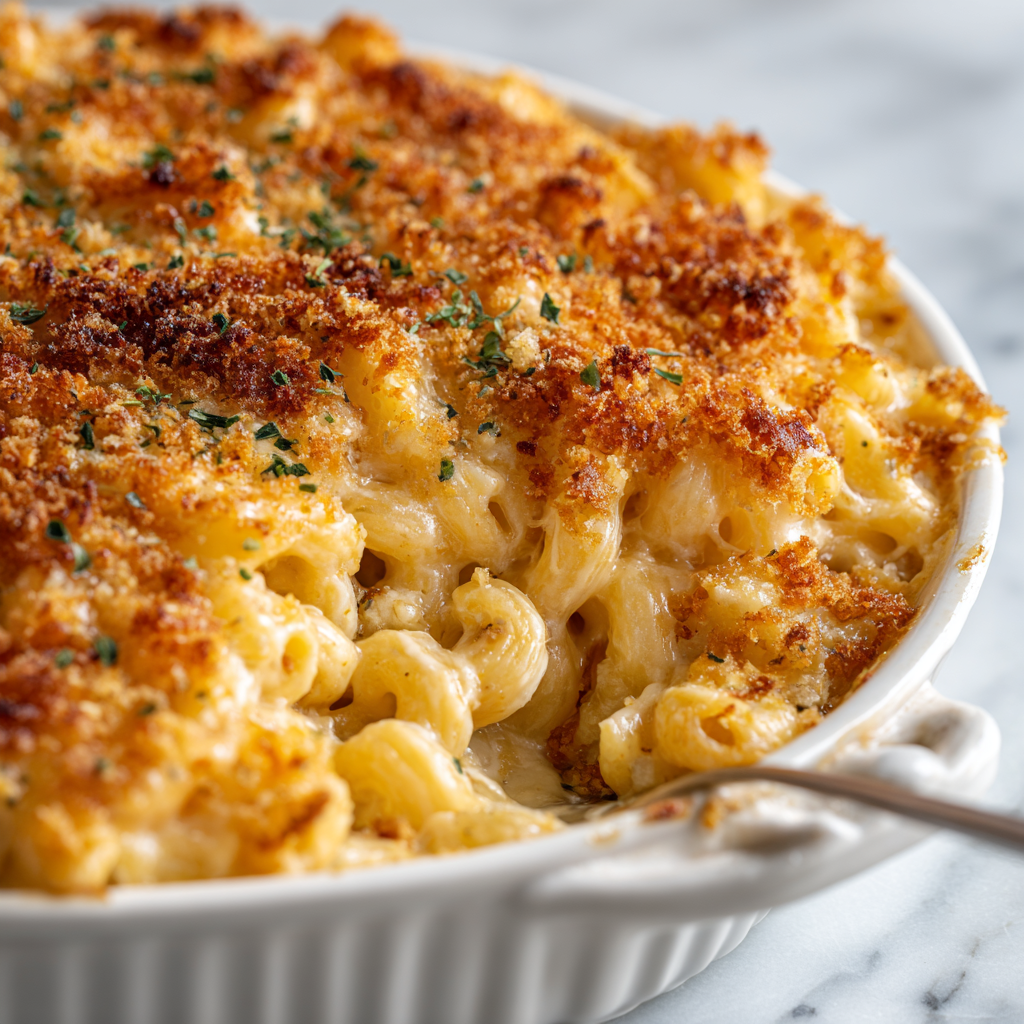
Baking matters more than you’d think. That 25-30 minutes in the oven does two critical things: it drives off excess moisture from the sauce, concentrating the flavors, and it triggers the Maillard reaction on the cheese and breadcrumb topping. That’s not just browning — it’s hundreds of new flavor compounds forming on the surface. The contrast between the creamy interior and that crisp, golden crust is what separates forgettable mac from memorable.
Ingredients You’ll Need
For the Cheese Sauce
- Pasta: Elbow macaroni is classic, but cavatappi or shells catch more sauce in their curves. Go with whatever shape makes you happy.
- Smoked Gouda Cheese: Buy a block and grate it yourself. Pre-shredded cheese contains anti-caking agents like potato starch that prevent smooth melting. You want pure cheese here.
- Sharp Cheddar Cheese: Provides structure and tang to balance the gouda’s smokiness.
- Butter: Unsalted gives you control over the final seasoning.
- All-Purpose Flour: Creates the roux that thickens your sauce.
- Whole Milk: The fat content matters. Skim milk won’t give you that velvety texture.
- Heavy Cream: Optional but recommended for special occasions — it takes the richness to another level.
- Fresh Nutmeg: Just a pinch. You won’t taste it directly, but it amplifies the cheese’s savory notes.
- Dijon Mustard: The secret ingredient. Its acidity and sharpness cut through the richness and make the cheese flavor pop.
- Salt and Black Pepper: Season throughout, not just at the end.
For the Topping (Optional)
- Panko Breadcrumbs: Crispier than regular breadcrumbs and hold their texture better during baking.
- Butter: Melted and mixed with the breadcrumbs for even browning.
- Additional Cheese: Because more cheese on top is never a bad decision.
Step-by-Step Instructions
Step 1: Cook the Pasta
Bring a large pot of water to a rolling boil and season it generously — it should taste like properly salted soup. Add 8 ounces of pasta and cook until just shy of al dente, about 1 minute less than the package directions. The pasta will continue cooking in the oven, and this prevents mushy results. Drain and set aside.
Step 2: Make the Roux
In a heavy-bottomed saucepan or Dutch oven, melt 4 tablespoons of butter over medium heat. Sprinkle in 4 tablespoons of flour and whisk constantly for about 2 minutes. You’re looking for a pale golden color and a smell that’s slightly nutty but not toasted — this means the raw flour taste has cooked out. This step is non-negotiable. Rush it, and your sauce will taste floury.
Step 3: Build the Béchamel
Gradually pour in 2 cups of whole milk while whisking. Add it slowly at first — just a splash — to create a smooth paste before adding the rest. This prevents lumps from forming. Bring the mixture to a gentle simmer and cook for 4-5 minutes, stirring frequently, until it thickens enough to coat the back of a spoon. The scientific term for this is starch gelatinization — the granules swell and burst, releasing starch molecules that thicken the liquid.
Step 4: Melt in the Cheese
Remove the pan from the heat. Let it sit for 30 seconds — seriously, this matters. Adding cheese to boiling-hot liquid is the fastest route to grainy sauce. Stir in 8 ounces of grated smoked gouda and 1 cup of sharp cheddar, a handful at a time, whisking until each addition melts before adding more. The residual heat will melt the cheese gently, creating an emulsion where fat and water molecules stay suspended rather than separating.
Season with 1/4 teaspoon of freshly grated nutmeg, 1 teaspoon of Dijon mustard, and salt and pepper to taste. Remember: you can always add more, but you can’t take it back.
Step 5: Combine and Transfer
Fold the cooked pasta into the cheese sauce, making sure every piece gets coated. If you’re adding bacon or other mix-ins, now’s the time. Transfer everything to a greased 9×13-inch baking dish.
Step 6: Add the Topping and Bake
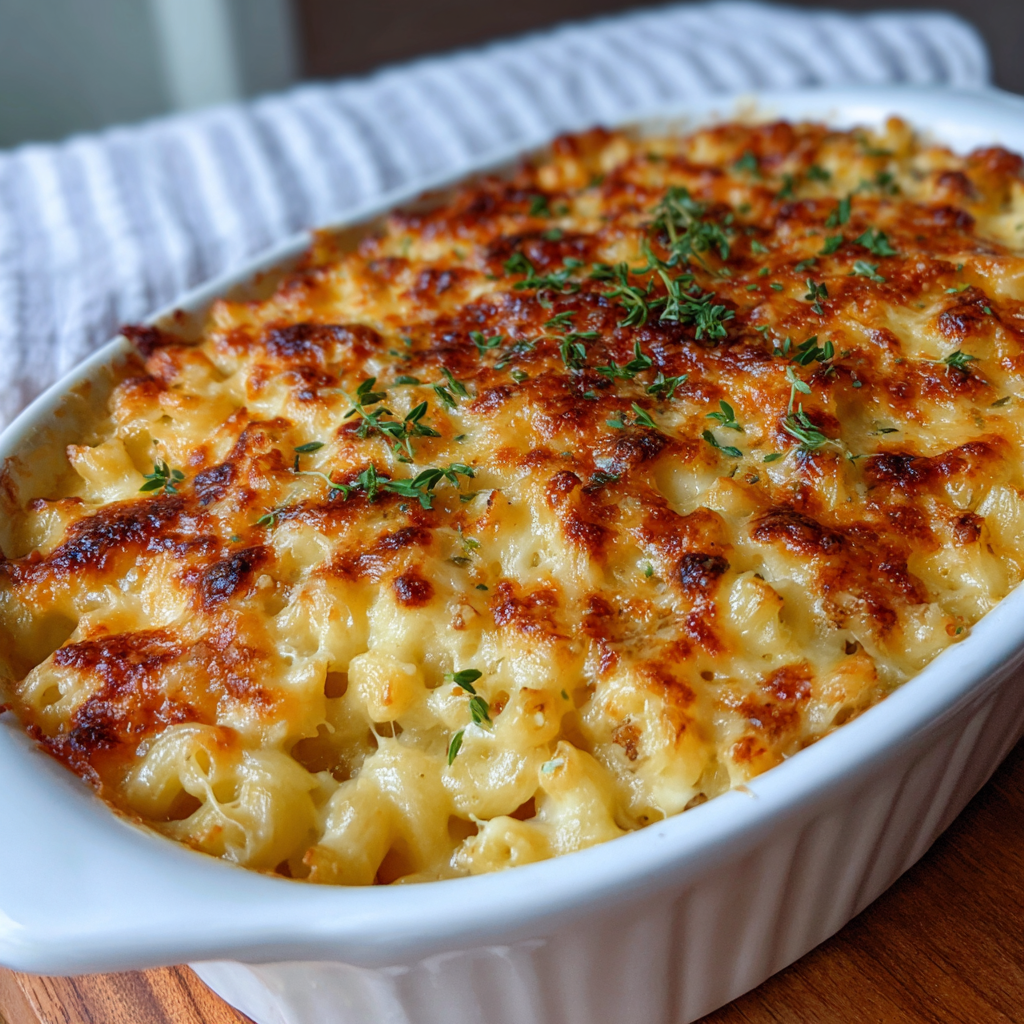
Preheat your oven to 350°F (175°C). Mix 1/2 cup of panko breadcrumbs with 2 tablespoons of melted butter and scatter evenly over the mac and cheese. Sprinkle an additional 1/2 cup of cheese on top if you want extra gooeyness. Bake for 25-30 minutes until the top is golden brown and the sauce is bubbling at the edges.
Step 7: The Broiler Finish
For that restaurant-style crispy top, switch your oven to broil for the final 2-3 minutes. Watch it like a hawk — the line between perfectly golden and burnt is thin. Remove from the oven and let it rest for 5 minutes before serving. This allows the sauce to set slightly so it doesn’t run all over the plate.
⚠️ Common Mistakes to Avoid
Grainy Cheese Sauce
The number one complaint I hear? “My cheese sauce broke.” This happens when proteins in the cheese tighten and squeeze out fat — usually from too much heat. The fix is simple: remove your pan from the heat before adding cheese, and add it gradually. If your sauce does break, a splash of cold milk and vigorous whisking can sometimes bring it back together.
Overcooked Pasta
Al dente is your target, not your starting point. Pasta absorbs liquid from the sauce while baking, so if it’s already soft going in, you’ll end up with mush. Test a piece 2 minutes before the package suggests and drain when it still has a firm bite at the center.
Bland Flavor
Under-seasoning is the enemy of good mac and cheese. Salt your pasta water generously. Taste and adjust the cheese sauce before combining. Season your breadcrumb topping too. Flavor builds in layers — miss one layer, and the whole dish suffers.
Dry Results
This usually comes from too much pasta relative to sauce or over-baking. The ratio in this recipe has been tested repeatedly. If you’re doubling the recipe, keep the proportions exactly the same.
Delicious Variations and Add-ins
The base recipe is a canvas. Here’s how to make it your own.
Cheese Swaps and Blends
Try adding Gruyère for nutty sweetness, fontina for extra creaminess, or a small amount of blue cheese for sharpness. Keep smoked gouda as at least half the blend — that’s your flavor backbone.
Mix-Ins for Main Course Status
Caramelized onions add sweetness that plays beautifully against the smoky cheese. Roasted garlic brings depth without overpowering. For protein, cooked bacon is the classic choice, but pulled pork or shredded chicken transforms this into a complete meal.
The Heat Factor
Diced jalapeños, a dash of hot sauce, or a pinch of cayenne in the cheese sauce adds warmth without overwhelming the smoky gouda. Start small and build.
Gourmet Touches
A drizzle of truffle oil right before serving creates an umami-rich aroma that elevates the entire dish. Use it sparingly — a little goes a long way.
Storage and Reheating Tips
Leftovers happen, even when this is on the table. Here’s how to handle them properly.
Refrigeration: Let the mac and cheese cool completely, then transfer to an airtight container. It keeps for 3-5 days in the refrigerator.
Freezing: Portion into freezer-safe containers, leaving space for expansion. Frozen properly, it lasts up to 3 months. Thaw overnight in the refrigerator before reheating.
Reheating from Cold: The oven method works best. Preheat to 350°F (175°C), transfer to an oven-safe dish, add a splash of milk to loosen the sauce, cover with foil, and bake for 20-25 minutes until heated through. Remove the foil for the last 5 minutes if you want to re-crisp the top.
Microwave Method: For single servings, transfer to a microwave-safe bowl, add a teaspoon of milk, cover loosely, and heat in 30-second intervals, stirring between each. It won’t be quite as good as fresh, but it’s acceptable when time is short.
💡 Pro Tips for Mac and Cheese Mastery
Grate Your Own Cheese
I said it before, but it bears repeating: pre-shredded cheese contains cellulose and potato starch to prevent clumping. These additives interfere with smooth melting and can leave your sauce slightly grainy. Take the extra 2 minutes to grate from a block. Your sauce will be noticeably silky and cohesive.
Temperature Matters for Cheese
Cheese melts best between 150°F and 170°F. Above that, the proteins tighten and squeeze out fat. Below that, it won’t melt at all. Removing your sauce from the heat before adding cheese hits the sweet spot.
Don’t Skip the Mustard
Dijon mustard might seem like an odd addition to mac and cheese, but its acidity and sharpness cut through the richness and make the cheese flavor more pronounced. You won’t taste “mustard” — you’ll just taste more cheese.
The Rest Period
That 5-minute rest after baking isn’t optional. The sauce needs time to thicken slightly as it cools. Cut into it immediately, and you’ll have a pool of cheese sauce on your plate. Wait, and you’ll get clean, defined portions.
Build Flavor in Layers
Season the pasta water. Season the sauce. Season the topping. Each layer needs its own salt. A single addition at the end can’t compensate for missing salt earlier in the process.
Frequently Asked Questions (FAQ)
+Why is my mac and cheese grainy?
Grainy sauce almost always comes from overheating the cheese. When cheese gets too hot, the proteins tighten and squeeze out fat, creating that separated, gritty texture. Always add cheese off the heat and stir until melted using residual heat. If it’s already grainy, a splash of cold milk and vigorous whisking might save it.
+Can I make mac and cheese ahead of time?
Yes, with one adjustment. Assemble the dish but don’t bake it. Cover tightly and refrigerate for up to 24 hours. Add 5-10 extra minutes to the baking time since you’re starting cold. The topping might not get quite as crispy, but it will still be delicious.
+What cheese melts best for mac and cheese?
Young, high-moisture cheeses melt smoothly — think fontina, young gouda, Gruyère, and mild cheddar. Aged cheeses have less moisture and can become grainy if overheated. For best results, use a blend: half good-melting cheese and half flavorful aged cheese. This gives you both texture and taste.
+How do I keep mac and cheese creamy?
Use whole milk or a combination of milk and cream for the sauce. Don’t overbake — 25-30 minutes at 350°F is enough. And when reheating leftovers, always add a splash of milk to restore moisture. The pasta will continue absorbing liquid as it sits.
+Can I freeze baked mac and cheese?
You can, though the texture won’t be quite the same. Freeze in airtight containers for up to 3 months. Thaw overnight in the refrigerator before reheating. Add extra milk when reheating to compensate for moisture loss. The topping won’t re-crisp perfectly, but you can add fresh breadcrumbs before reheating.
+What sides go with smoked gouda mac and cheese?
This dish is rich, so balance it with something acidic or fresh. A simple green salad with vinaigrette, roasted broccoli with lemon, or sautéed greens all work well. For protein, grilled chicken or pork chops keep the meal from feeling too heavy.