Deliciously Unique Pink Velvet Cake Recipe
Ingredients
Method
- Preheat the oven to 350°F (175°C) and prepare your cake pans.
- In a large mixing bowl, cream together the butter and sugar until light and fluffy.
- Add the eggs one at a time, mixing well after each addition, then stir in the vanilla extract.
- In a separate bowl, sift together the flour, cocoa powder, baking powder, baking soda, and salt.
- Gradually add the dry mixture to the creamed mixture, alternating with the buttermilk, beginning and ending with the dry ingredients.
- Mix in the red food coloring until fully combined, adjusting to reach your desired color.
- Divide the batter evenly between the prepared cake pans and smooth the tops.
- Bake for 25-30 minutes or until a toothpick inserted into the center comes out clean.
- After baking, allow the cakes to cool in the pans for about 10 minutes before transferring to a wire rack.
- Once the cakes are cool, frost with your favorite cream cheese frosting.
Tried this recipe?
Let us know how it was!Introduction
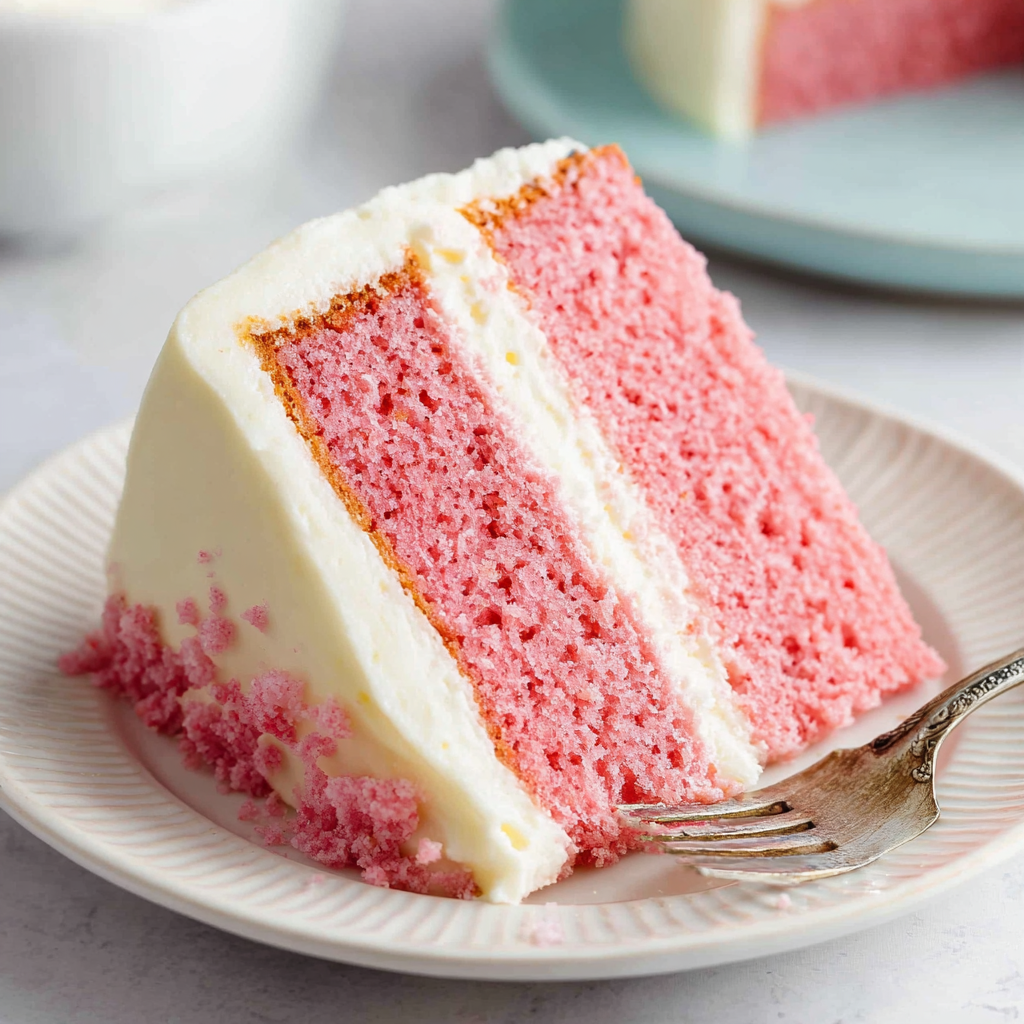
Pink velvet cake is a delightful take on a classic dessert that combines the rich flavors of chocolate with a charming hue of pink. This elegant cake is perfect for special occasions or simply to satisfy your sweet cravings. The cake's distinct color and velvety texture make it a showstopper at any gathering.
Crafting this cake at home not only processes the satisfaction of baking but provides a delicious treat that’s sure to impress. With its subtle sweetness and decadent frosting, the pink velvet cake is as pleasing to the palate as it is to the eyes. Let's embark on a delicious journey to create this delightful dessert!
Ingredients
- 2 1/2 cups all-purpose flour
The foundation of the cake, all-purpose flour provides structure and stability. Its gluten content allows the cake to rise while still maintaining a tender texture. - 1 1/2 cups granulated sugar
Sugar not only sweetens the cake but also contributes to its moisture and helps create a light, fluffy texture when creamed with butter. - 1 cup unsalted butter, softened
Butter adds richness and flavor while helping to create a tender crumb. It also aids in the leavening process when whipped with sugar. - 1 cup buttermilk
Buttermilk provides acidity, which reacts with baking soda for leavening, resulting in a fluffy cake. It also adds a subtle tanginess and moisture. - 3 large eggs
Eggs provide necessary structure and act as a binding agent to help hold the cake together. They also help with moisture and contribute to a rich flavor. - 1 tablespoon vanilla extract
Vanilla enhances the overall flavor of the cake, adding a warm and inviting aroma. It’s a key ingredient in many baking recipes. - 2 tablespoons unsweetened cocoa powder
Cocoa powder adds a touch of chocolate flavor without overwhelming the cake. It also deepens the color, allowing the pink to stand out. - 1 tablespoon baking powder
This leavening agent is crucial for making the cake rise. It helps create a light and airy texture while contributing a slight tang to the flavor. - 1 teaspoon baking soda
Baking soda, in conjunction with buttermilk, helps the cake rise and gives it a softer texture. It also contributes to the cake's slight acidity. - 1 teaspoon salt
Salt enhances the flavors of the other ingredients, balancing the sweetness and intensifying the overall taste of the cake. - 1 tablespoon red food coloring
The food coloring is what gives the pink velvet cake its signature hue. It is essential for achieving that vibrant pink color that looks stunning and appetizing.
Directions & Preparation
Step 1: Preheat the oven to 350°F (175°C) and prepare your cake pans.
Preheating the oven is essential for ensuring that the cake bakes evenly. Preparing the cake pans with baking spray or lined with parchment paper helps prevent sticking, which is crucial for an intact cake.
Step 2: In a large mixing bowl, cream together the butter and sugar until light and fluffy.
Creaming the butter and sugar introduces air into the mixture, creating a light texture which is vital for the cake's rise. This step also helps to dissolve the sugar, leading to a smoother batter.
Step 3: Add the eggs one at a time, mixing well after each addition, then stir in the vanilla extract.
Incorporating the eggs individually helps maintain the emulsion, ensuring that the mixture remains smooth without separating. The vanilla adds depth to the flavor profile of the cake.
Step 4: In a separate bowl, sift together the flour, cocoa powder, baking powder, baking soda, and salt.
Sifting the dry ingredients ensures even distribution and eliminates lumps. This step also incorporates air into the flour, contributing to a lighter texture in the final cake.
Step 5: Gradually add the dry mixture to the creamed mixture, alternating with the buttermilk, beginning and ending with the dry ingredients.
Adding the ingredients alternately prevents the batter from curdling and ensures uniform mixing. The alternating process helps maintain a delicate balance of moisture, which is key to the cake’s texture.
Step 6: Mix in the red food coloring until fully combined, adjusting to reach your desired color.
Monitoring the color as you mix allows you to customize the shade of the cake. A vibrant pink hue adds visual appeal and excitement to your baked creation.
Step 7: Divide the batter evenly between the prepared cake pans and smooth the tops.
Even distribution of the batter ensures that both layers bake uniformly, producing cakes of even height and texture. Smoothing the tops also aids in achieving an appealing final appearance.
Step 8: Bake for 25-30 minutes or until a toothpick inserted into the center comes out clean.
Baking times can vary slightly based on your oven and pans used. The toothpick test is a reliable indicator of doneness, preventing overbaking which can dry the cake.
Step 9: After baking, allow the cakes to cool in the pans for about 10 minutes before transferring to a wire rack.
Cooling the cakes in pans helps them set and reduces the risk of breakage. Moving them to a wire rack allows for proper airflow and prevents sogginess from steam.
Step 10: Once the cakes are cool, frost with your favorite cream cheese frosting.
Frosting should be applied when the cakes are completely cool to prevent melting. Cream cheese frosting provides a tangy contrast to the sweet cake, enhancing overall flavor.

Choosing the Right Food Coloring
When making pink velvet cake, the choice of food coloring is crucial. Gel food coloring tends to provide a more vibrant color without altering the cake's consistency. Liquid food coloring might require adjustment in the batter's liquid balance, affecting the final texture. Always choose a high-quality coloring for the best visual impact.
Frosting Variations for Pink Velvet Cake
While cream cheese frosting is a classic pairing with pink velvet cake, there are many creative frosting options to explore. Consider using whipped cream cheese or a light buttercream for a milder flavor. Adding a hint of citrus zest can elevate the taste profile, or make it chocolate ganache for a rich finish.
Serving Suggestions to Enhance Your Cake
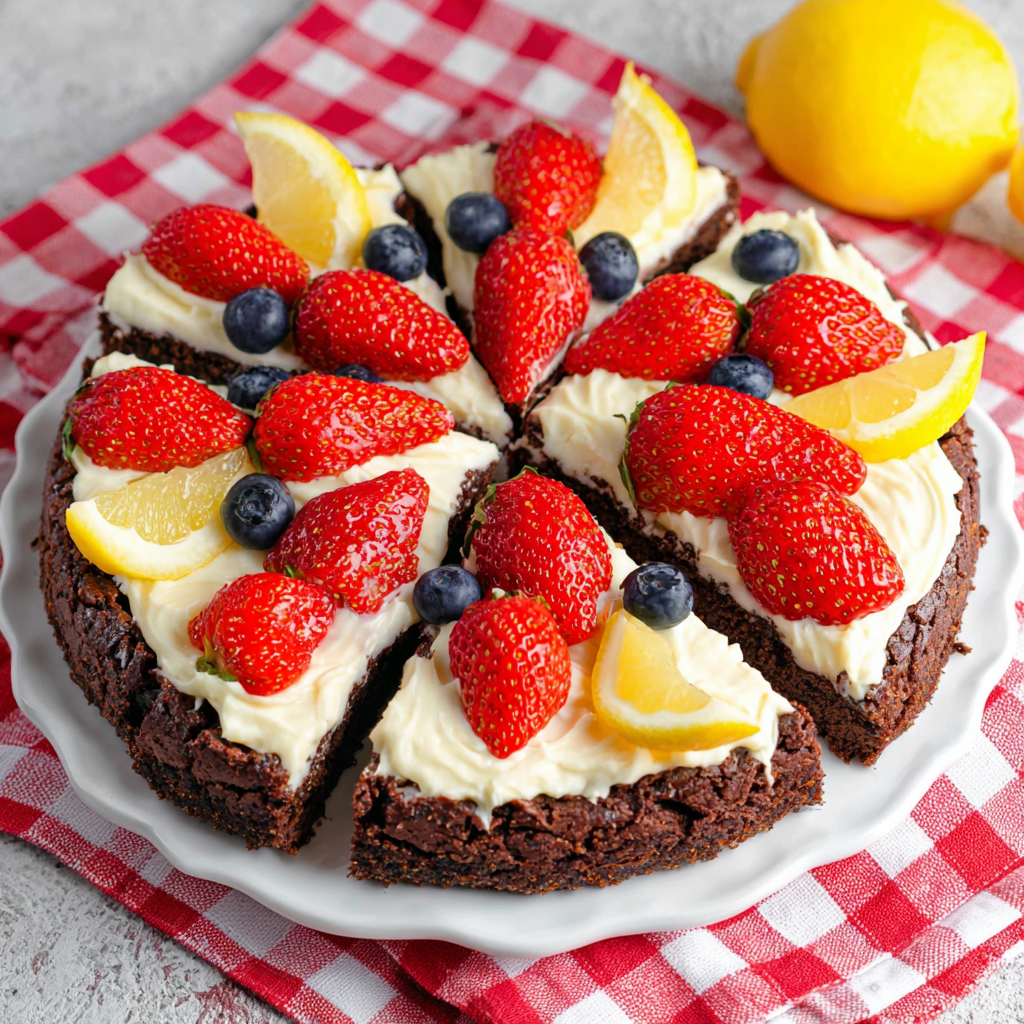
The presentation of your pink velvet cake can be enhanced with a variety of serving suggestions. Serve with fresh berries or a scoop of vanilla ice cream for added texture and flavor contrast. Drizzle with a berry coulis or a sprinkle of edible glitter to impress guests at a gathering.
FAQs
What can I do if my batter is too thick?
If your batter seems too thick, add a small amount of buttermilk (1 tablespoon at a time) until it reaches a smoother consistency.
How can I make my cake less sweet?
To reduce sweetness in the cake, consider cutting back on the sugar by 1/4 cup. Adjusting the frosting recipe can also help balance the overall sweetness.
Why did my cake dome in the middle?
A domed cake usually indicates that the oven temperature was too high, causing the outer edges to set before the center. Make sure to check oven calibration for accuracy.
What if I want to scale this recipe for smaller cakes?
To adjust the recipe, simply halve the quantities for a smaller cake suitable for a few servings, keeping the same ratios for the ingredients.
How do I ensure even baking for my layers?
Using the same size pans and ensuring your oven is preheated properly helps achieve even baking. Rotating the pans halfway through baking can also promote uniformity.
Is there a way to add more chocolate flavor to the cake?
You can increase the amount of cocoa powder to 1/4 cup for a richer chocolate flavor. Adjust other ingredients accordingly if needed.
Conclusion
Creating a pink velvet cake is not only a rewarding baking experience but also a way to impress at events or simply treat yourself. The rich flavors combined with the delicate texture and vibrant color make it a standout dessert choice.
This recipe allows for personalization and creativity, encouraging home bakers to experiment while keeping the essence of this delightful cake. Enjoy every slice and share the joy of baking with loved ones.
Recipe Card
Deliciously Unique Pink Velvet Cake Recipe
Ingredients
Method
- Preheat the oven to 350°F (175°C) and prepare your cake pans.
- In a large mixing bowl, cream together the butter and sugar until light and fluffy.
- Add the eggs one at a time, mixing well after each addition, then stir in the vanilla extract.
- In a separate bowl, sift together the flour, cocoa powder, baking powder, baking soda, and salt.
- Gradually add the dry mixture to the creamed mixture, alternating with the buttermilk, beginning and ending with the dry ingredients.
- Mix in the red food coloring until fully combined, adjusting to reach your desired color.
- Divide the batter evenly between the prepared cake pans and smooth the tops.
- Bake for 25-30 minutes or until a toothpick inserted into the center comes out clean.
- After baking, allow the cakes to cool in the pans for about 10 minutes before transferring to a wire rack.
- Once the cakes are cool, frost with your favorite cream cheese frosting.
Tried this recipe?
Let us know how it was!Notes
Additional serving suggestions: pair with a crisp salad, garlic bread, or roasted seasonal vegetables for balance.
For make-ahead, prep components separately and assemble just before heating to preserve texture.
Taste and adjust with acid (lemon/vinegar) and salt right at the end to wake up flavors.