Introduction
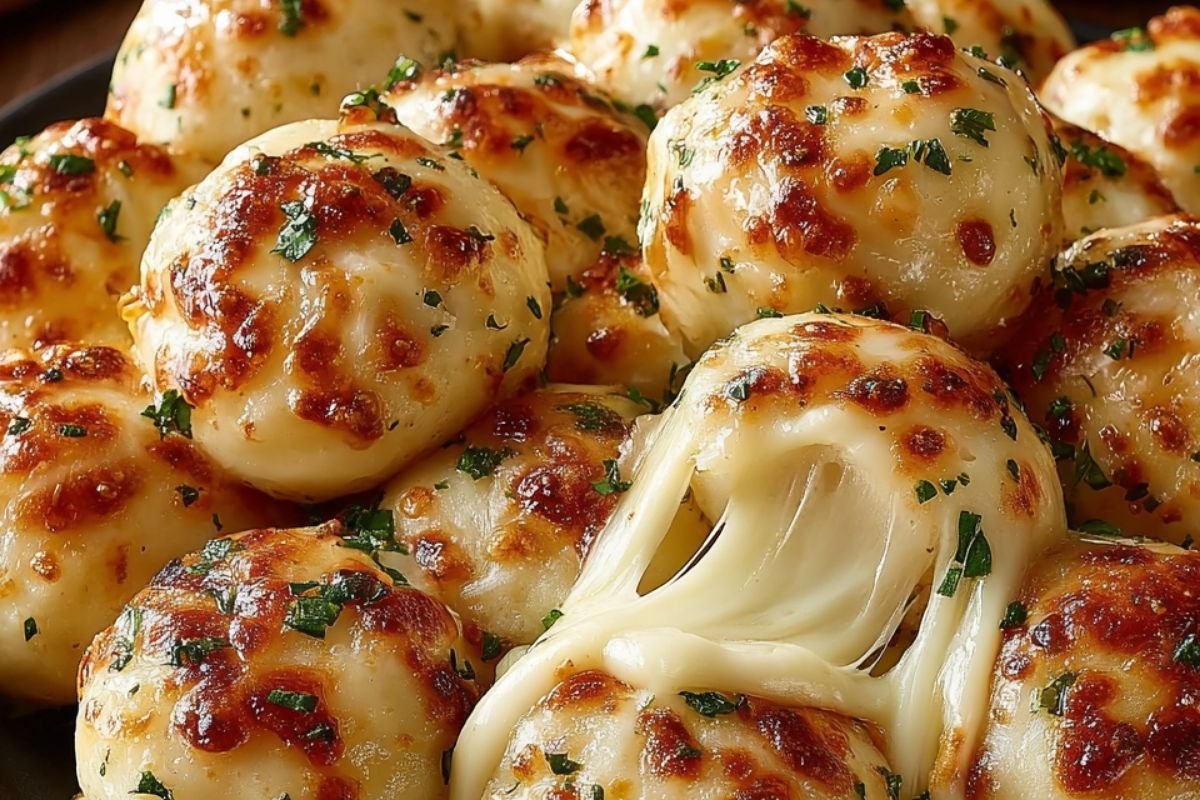
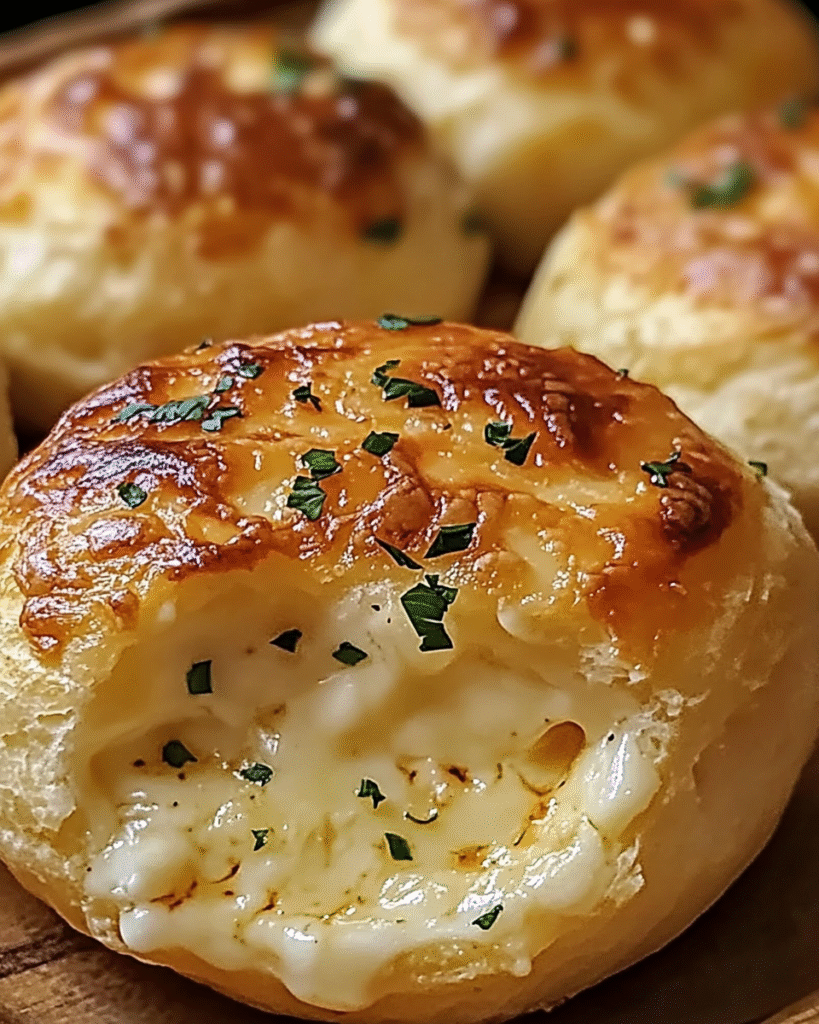
Few snacks capture the comforting combination of bread, cheese, and butter quite like Garlic Butter Cheese Bombs. They’re everything you could want in a bite-sized treat: soft, fluffy dough wrapped around a cube of melted cheese, baked to golden perfection, and brushed with rich garlic butter. They’re easy to prepare, packed with flavor, and perfect for almost any occasion.
These indulgent bites take everything you love about garlic bread and add a molten cheese surprise in the center. Whether you’re preparing them for a casual family snack, a party appetizer, or a cozy movie night, these cheesy, buttery bombs are guaranteed to impress. With just a few basic ingredients and minimal effort, you can whip up bakery-quality results right in your kitchen.
This comprehensive guide will teach you everything you need to know about making Garlic Butter Cheese Bombs. We’ll walk through the ingredients, step-by-step instructions, pro tips, creative variations, serving ideas, storage, reheating, and detailed answers to frequently asked questions. By the time you’re done reading, you’ll have mastered this recipe and will be ready to make the most irresistible cheese bombs ever.
Why Garlic Butter Cheese Bombs Are So Popular
The popularity of Garlic Butter Cheese Bombs isn’t just about taste—it’s about simplicity, versatility, and comfort. Here’s why they’ve become a staple in kitchens everywhere:
- They’re quick and easy to make: With refrigerated biscuit dough, you can prepare them in under 10 minutes.
- They’re crowd-pleasing: Whether served at parties, holidays, or weeknight dinners, these cheesy bombs are universally loved.
- They’re customizable: From changing the cheese to experimenting with different seasonings, the variations are endless.
- They’re bite-sized and shareable: Perfect finger food for gatherings and family-friendly snacking.
- They’re warm and comforting: Few things beat fresh-baked bread brushed with garlic butter and filled with melted cheese.
The combination of cheese, garlic, and butter is timeless. It evokes the satisfaction of homemade comfort food while still being simple enough for beginners to make.
Ingredients for Garlic Butter Cheese Bombs
The beauty of this recipe is that it requires just five simple ingredients, most of which you likely already have:
- 1 can refrigerated biscuit dough – Fluffy and convenient, ready-made biscuit dough saves time while delivering soft texture.
- 8 cubes mozzarella cheese – Fresh mozzarella cubes create that gooey cheese pull we all love.
- 4 tbsp melted butter – Adds richness and creates that glossy, irresistible finish.
- 2 cloves garlic, minced – For aromatic, savory flavor.
- 1 tsp parsley – Fresh or dried parsley gives a pop of freshness and color.
Step-by-Step Instructions
Follow these steps to make perfectly baked Garlic Butter Cheese Bombs every single time:
- Preheat your oven to 375°F (190°C) and line a baking sheet with parchment paper or lightly grease it.
- Open the biscuit dough and separate the biscuits. Flatten each biscuit slightly with your hands or a rolling pin.
- Place a cube of mozzarella cheese in the center of each biscuit round.
- Pinch the dough edges together tightly to seal the cheese inside, shaping into a ball.
- Arrange the sealed dough balls seam-side down on the prepared baking sheet.
- In a small bowl, mix melted butter with minced garlic and parsley. Brush this mixture generously over the tops of the dough balls.
- Bake for 12–15 minutes until golden brown.
- Brush with more garlic butter immediately after baking for extra flavor. Serve warm for the best gooey cheese experience.
Tips for Perfect Garlic Butter Cheese Bombs
To elevate your Garlic Butter Cheese Bombs from good to extraordinary, follow these expert tips:
- Seal the edges completely to prevent cheese from leaking during baking.
- Use fresh mozzarella rather than pre-shredded cheese for better melting and texture.
- Don’t overbake—removing them when lightly golden ensures a soft interior.
- Double-brush with garlic butter: once before baking and once right after for rich flavor.
- Serve immediately for that perfect, molten cheese pull.
Variations of Garlic Butter Cheese Bombs
The classic version is amazing, but these variations can make your Garlic Butter Cheese Bombs even more exciting:
- Spicy Cheese Bombs: Add a sprinkle of red pepper flakes inside for a subtle kick.
- Bacon Cheddar Bombs: Replace mozzarella with cheddar and add crispy bacon bits.
- Pizza Cheese Bombs: Tuck in mini pepperoni slices and serve with marinara sauce.
- Herb Lovers Bombs: Mix rosemary, thyme, or Italian seasoning into the butter glaze.
- Four-Cheese Bombs: Combine mozzarella, provolone, cheddar, and parmesan for maximum cheesiness.
Serving Suggestions
These cheesy bites are versatile and can be served in many delicious ways:
- As a party appetizer on a platter with dipping sauces like marinara or ranch.
- Alongside soups such as tomato basil or creamy potato.
- Paired with pasta dishes like lasagna or spaghetti.
- As a side for roasted meats or grilled chicken.
- On a game-day snack table with other finger foods like wings or sliders.
Nutritional Profile
Each Garlic Butter Cheese Bomb is approximately 150 calories, with a balance of carbohydrates, protein from the cheese, and fats from butter. While indulgent, they can be enjoyed in moderation as part of a balanced diet. For a lighter version, consider using reduced-fat cheese or reducing the butter quantity.
Storage and Reheating
If you happen to have leftovers (which is rare because they vanish quickly), here’s how to store them:
- Store in an airtight container in the refrigerator for up to 3 days.
- Reheat in a preheated oven at 350°F for 5 minutes or in an air fryer for 3 minutes to restore crispiness.
- Avoid microwaving as it can make the bread soggy.
- You can also freeze unbaked cheese bombs and bake them directly from frozen by adding a few extra minutes of baking time.
Frequently Asked Questions About Garlic Butter Cheese Bombs
1. Can I make Garlic Butter Cheese Bombs ahead of time?
Yes! Assemble them ahead, store in the refrigerator, and bake fresh just before serving.
2. Can I use homemade dough instead of biscuit dough?
Absolutely. Pizza dough or homemade bread dough works beautifully for this recipe.
3. What cheeses melt best for this recipe?
Mozzarella is ideal, but provolone, cheddar, gouda, or fontina also work well.
4. Can I make these cheese bombs vegetarian?
Yes, they’re naturally vegetarian as long as you choose a vegetarian-friendly cheese.
5. Are Garlic Butter Cheese Bombs freezer-friendly?
Yes. Freeze them unbaked, then bake straight from frozen, adding 5 extra minutes to baking time.
Conclusion
There’s no denying the irresistible appeal of Garlic Butter Cheese Bombs. With their fluffy dough, gooey melted cheese, and rich garlic butter glaze, they’re a perfect fusion of comfort and indulgence. They come together quickly, require only a handful of ingredients, and are loved by both kids and adults alike.
Whether you’re making them as a simple snack, an appetizer for guests, or a side for a family dinner, these cheese bombs deliver big flavor in every bite. Once you make them, they’ll become a permanent fixture in your kitchen. Try them today, and experience the cheesy, garlicky bliss of homemade Garlic Butter Cheese Bombs.